Create any loan product you want, and have it approved by the Board of Directors.
To add a loan product, go to Policies, and choose Settings and Credit Product Policy. When the Board approves the credit policy, the loan product is available in the product list.
All loan products must have a ledger in the Chart of Accounts. Please take a look at how to add a ledger here. See how to connect the ledgers here.
a) Create a Credit Policy
First, you must create a credit policy and get it approved by the Board of Directors.
- Log in to the Wakandi Admin Panel.
- Go to Settings.
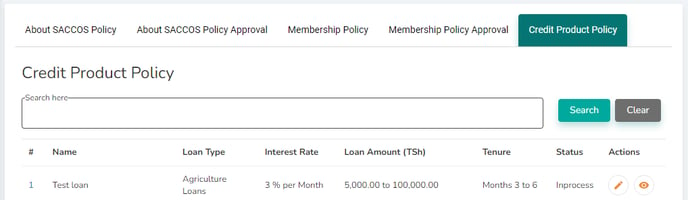
- Choose Policies and Credit Product Policy.
- Click Add New, and fill in the details of the loan product
- Details about the loan
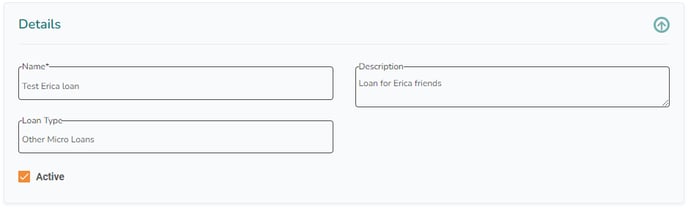
If you define the Loan type, this is useful for reports later on. - Terms of the loan
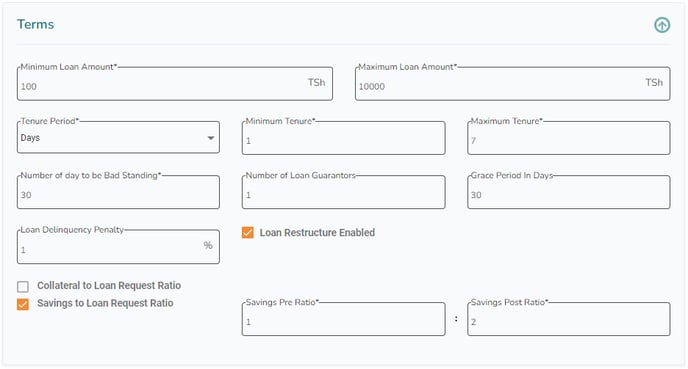
In this case, the loan is a minimum of 100 and a maximum of 10000. It lasts for at least one day and a maximum of seven days. After 30 days, it is bad standing. At least one loan guarantor is required, and after 30 days, a penalty of 1% is added. The loan can be restructured. The loan also requires a savings ratio of 1:2. - Loan interest

You can define the interest rate per day, week, month or year and the calculation method (flat or reducing balance). The accrual method is also possible to define. - Loan Charges
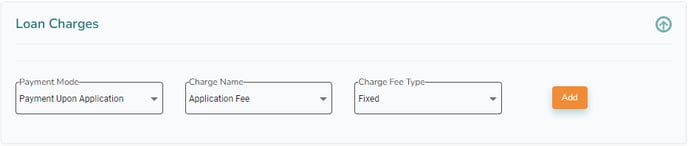
You can choose when the loan charge should be added (upon application, disbursement, delayed repayment, with the first or on all loan instalments). The fee can either be fixed or as a percentage. If you choose fixed, you can define different amounts depending on the loan amount. Click on Add to add one or more loan charges. - Loan Stages

Each Credit policy can have a specific underwriting process. You can add the stages you want for your product and assign them to a role. When a member applies for a loan, all stages defined must be approved for the loan to be disbursed.
- Details about the loan
- Click on Submit to create the Credit policy.
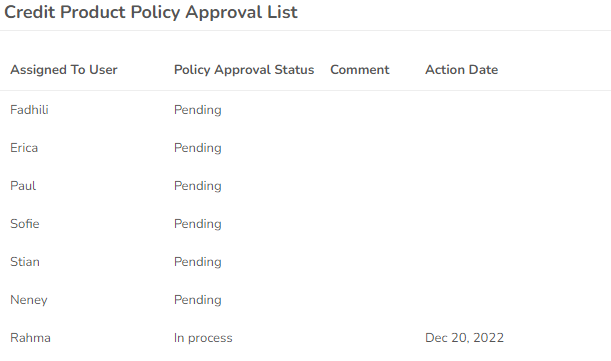
- Now the Credit policy needs to be approved by the Board of Directors. Policies that still need to be approved have the status of Inprocess.
- All board members need to approve the policy. Staus on this is available by clicking the number in front of the loan.
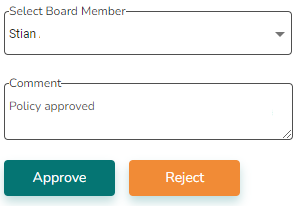
- If you have the privileges as a board member, you can approve the Credit policy for yourself and others. Choose a name, write a comment, and either approve or reject.
- When all board members have approved the policy, it can be connected to the loan product.
b) Connect the ledger in the Chart of Accounts
- Log in to the Wakandi Admin Panel.
- ... and go to Settings and choose Products.
- Click on the loan product you created and choose Edit.
- Define the name of the account, and connect it to the ledger code:
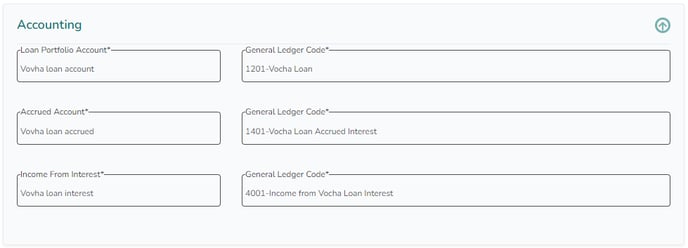
If you need to add ledger codes, you can do it here. - Click Save, and your loan product will be available to your members. If you don't want it to be, change the Active stage on the Credit policy.