With Wakandi, you get an accounting feature that allows you to configure your ledgers.
Go to Ledgers. Select General ledgers.
Step-by-Step guide on how to configure ledgers.
- Login to Wakandi.
- Go to Ledgers.
- Select General ledger from dropdown menu.

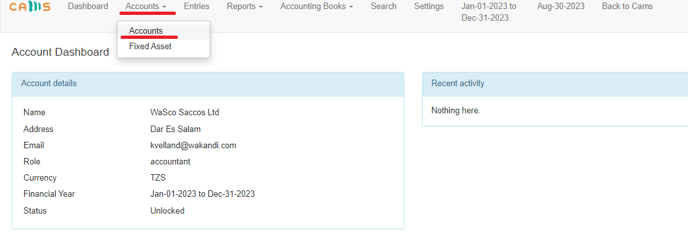
- On the Accounting dashboard click Accounts on top side of the page and choose Accounts from the dropdown menu.
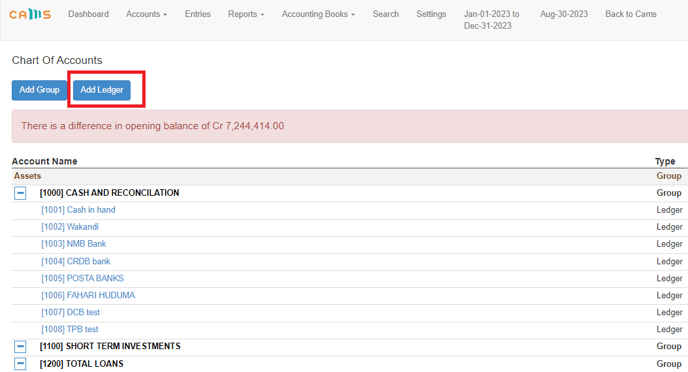
- Click Add Ledger to configure a new ledger.
- Fill in the name and choose the parent group of the ledger being created.
- The ledger code will auto-generate depending on the ledgers in that specific parent group.
- Select if ledger is Debit or Credit from the button below opening balance.
- Check on the checkbox on Bank or Cash account it is bank or cash ledger
- Check on the checkbox on Reconciliation if you want the ledger to be reconciled from reports
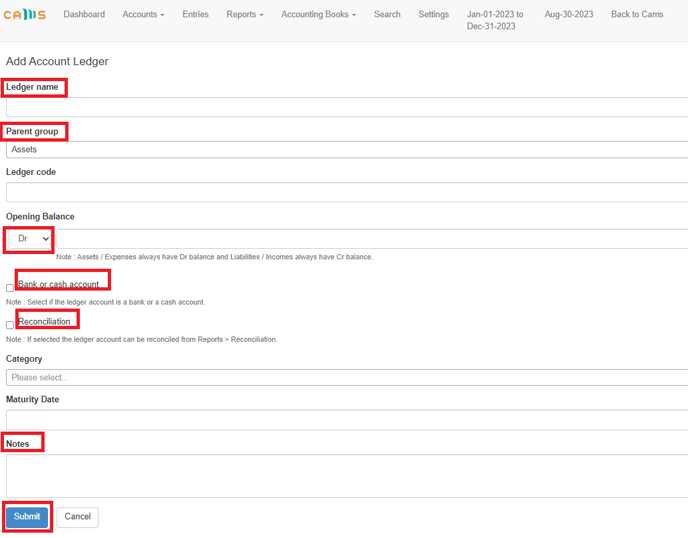
- Add Notes about the ledger if any..
- Click Submit to Configure the ledger.